
How to Grow Radish Microgreens at Home
Radish germinates in under two days and is ready to cut in about a week. Here is the whole routine for a first tray, and what to do with the peppery shoots you get.
If you have never grown microgreens, grow radish first. It germinates in under 48 hours, forgives a heavy hand with the watering can, and is ready to cut in about a week. If a radish tray fails, the fault is in the setup rather than the technique, and you find that out in days instead of weeks.
This page is the radish-specific version of our general guide to growing microgreens, which covers the method every variety shares and the numbers for each.
What you need
- Radish seed sold for sprouting or microgreens, untreated. Garden seed is often coated with fungicide.
- Two shallow trays that stack, one with drainage holes and one without.
- Coco peat or a fine seedling mix, 3–4cm deep.
- A spray bottle, and somewhere bright and out of direct sun.
We sell the same seed we sow on our own trays: see radish seeds.
Sow it
Radish seed is small and needs no long soak. Some growers give it a few hours in water, but it is optional. Fill the drainage tray with damp, levelled medium and scatter 25 to 30g of seed across a standard 25×25cm tray, evenly and in a single layer. Mist it, then set the second tray upside down on top as a lid.
Days 1 to 3 — covered
Keep the lid on for two to three days and lift it once a day to mist and let the air change. You will see the shoots lifting the lid before the end of the second day.
Days 3 to 8 — light and water from below
Take the lid off and move the tray into bright, indirect light. The pale stems turn green within a day, and the radish's pink to magenta stems show. From here water from below: pour into the outer tray and let the medium absorb it. Water sitting on the leaves is the usual cause of mould, so keep the air moving.
White fuzz is not always mould
Fine white fuzz around the base of each stem that appears overnight is root hair, and it means the tray is healthy. Mould is grey, spreads across the seed and smells musty.
Cut on day 6 to 8
Cut just above the medium with scissors once the seed leaves are open. A hot month runs a day faster and an air-conditioned room a day slower. Radish gets sharper and woodier the longer it stands, so cut on time. The tray does not regrow.
What radish microgreens taste like, and how to use them
Hot and peppery, with more bite than the root and a crisp stem. A little goes a long way, so use it as a seasoning rather than a bed of salad. There are more ideas in what to make with radish microgreens.
- Scatter over tacos or rice bowls for a peppery finish.
- Top avocado toast for colour and heat.
- Use as a garnish for soup, ramen and sushi.
- Pair with soft cheese on crackers.
They are meant to be eaten raw. If you want to be sure which microgreens are safe that way, see can you eat microgreens raw.
Prefer to buy a tray?
Our radish microgreens are cut fresh to order. Once radish feels easy, the next step is a variety that takes warmth and a long soak: water spinach.
Featured in this article
Try these microgreens
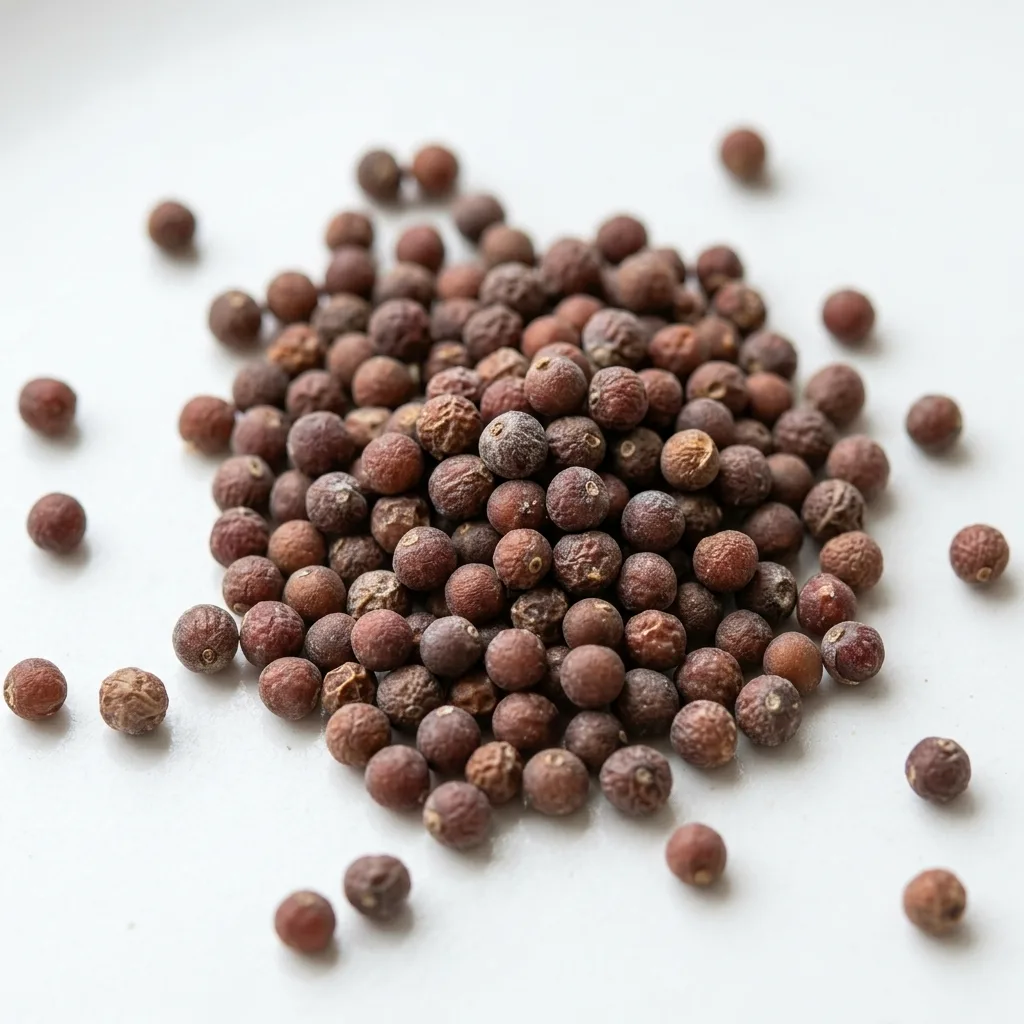
Peppery and sharp — the same seed we sow for our own radish trays.
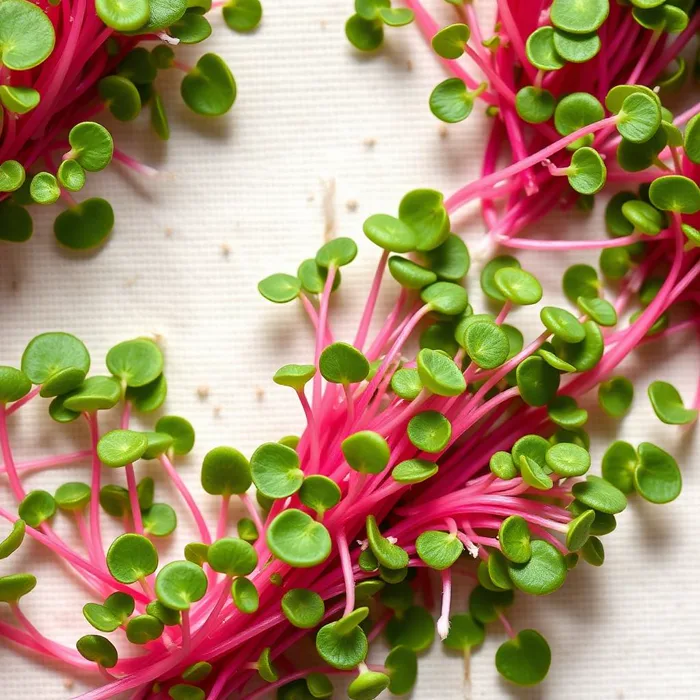
Peppery and bright with vibrant pink stems.